If you have MTS (Multiple Tank Syndrome) or have a large tank you may have found that weekly water changes have become a massively time-consuming operation involving manoeuvring buckets and buckets of water from here to there.
One possible solution to help with the large water change is to employ a pump which will move a large volume of water very quickly. This method is useful if you are changing approximately 75 litres or more at a time. There is a ‘one bin’ or ‘two bin method’. Use the one bin method if you are short on space at home.
The links included are for reference purposes – it is always worth shopping around for a cheaper deal (other products/sellers are available!).
Two large food grade bins (or one large food grade bin and one smaller, regular sized bucket).


The bin in the picture is food grade plastic and holds 110 litres and can be purchased here:
Other food grade plastic boxes can be found here:

1) Fill the bin up with the correct amount of fresh replacement water the night before the water change, as this will allow the pH to settle. Add the appropriate amount of tap-water conditioner. If you are using the pump method, it is helpful if you include an extra additional 10 litres of water or so than you intend to use.
2) On water change day, add a heater (or two) to bring the water up to your desired temperature. Make sure the heater does not touch the plastic of bin; either use suction pads or a heater guard. Add a powerhead or pump to ensure that water moves around the heater otherwise the heater’s thermostat will switch it off and the water will not be heated all the way through. Gently replace the lid so that the heat stays in the bin. It can take quite a while for the water to heat up so it would be a good idea to set it up and then get on with something else for a while. The heaters and powerhead (as in the picture below) should be spares that can be used for a QT tank or as spares for your main tank(s).

3) Alternatively, boil your kettle and add boiled water until the water in your bin has reached the desired temperature. If you are using this method, you will want to do your tank maintenance and cleaning first so that the water is ready to add.
4) Check the temperature using an aquarium thermometer or TDS meter with a thermometer.
1) Carry out your tank clean and maintenance as usual.
2) ‘Two bin method’: Siphon up the old water with as much dirt and waste as possible and siphon directly into your second 110 litre bin. Siphon out the desired amount (equal to the amount you intend to replace). Put to one side for now.
3) ‘One bin method’: If you only have one 110 litre bin, siphon out the dirty water into a smaller bucket and dispose of the water a bucket at a time.
4) DO NOT use the pump to remove the old water directly from the tank. This is not safe for the fish and is absolutely not advised.
Once you have removed all the old water you are ready to add in your clean, de-chlorinated and heated water.
1) Switch off and carefully remove the heaters and powerhead (if this method of heating has been used). Be aware that the heaters will still be warm so place them on a heat safe surface.
2) Place the pump in the bin so that it sits on the bottom and is entirely submerged in water.
3) Now here is the tricky bit! Unfortunately most pumps do not come with an on /off switch. Either buy a remote switch like the one suggested in the equipment list or ensure that you are able to safely reach an extension lead to manually unplug the pump. Remember to be very careful when moving water near electrical sockets/extension leads.
4) Before you plug it in (or switch it on) ensure that you are firmly holding your hose so that the water will spray directly into your tank but at an angle. If you point the hose directly down it will cause all manner of disturbance and will also cause water to spray up out of the tank! A 400w pump is very fierce so do not switch it on until you are sure that you have the hose under control. Most pumps will come with a floating switch (it is the round part attached the pump by a wire). Unfortunately, this switch does not work very well in the bins and tends to switch the pump off too soon. The best solution is to hold the switch up out of the water with your free hand (holding the hose with your other hand) until you have pumped back in the required amount of water. If you drop the floating switch it will stop the pump.
5) Be careful not to let the pump run dry. There should always be around 10 litres of water remaining at the bottom of the bin. This was the extra that you added when you set the bin up. Either top up your tank to the water line using a jug (if your tank is not up to the water line) or tip the extra water away.
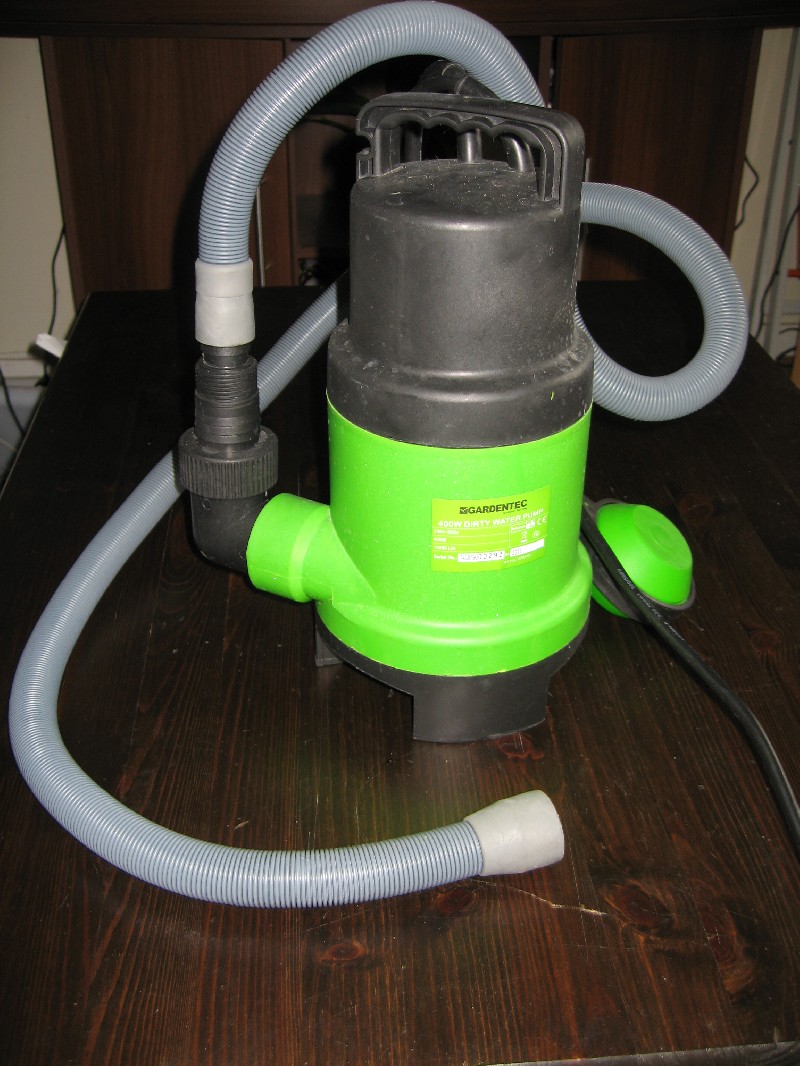
If you have used the ‘two bins’ method, you will now have a bin full of dirty water remaining. This is why it is helpful to buy a ‘dirty’ water pump, as it can cope with any waste and fish debris that you have siphoned out. Add the pump to the bin full of dirty water, ensure the hose is pointing down a drain (preferably outside because it comes out with some force) or out onto a garden and switch on. The dirty tank water will pump away, leaving you with a small amount in the bottom of the bin to tip out manually.
Although this method may sound complicated at first, it will allow you to pump a large volume of water into your tank very quickly which means less time and effort heaving buckets to and fro.
| Navigate through the articles | |
 Nitrates in the Aquarium
|
Powercuts - Precautions and Emergency Measures to Save Your Fish

|
|
||||


 It's really nice to be able to contribute something to the site! I've found so many of the articles so incredibly useful over the years


 )but am getting perpared for the big day. Thought these boxes were perfect for the job. (Ive got a 190l tank so 70l was just right)